
Another idea I picked off Pinterest was this “Mr” and “Mrs” string art sign. It was a pity that I couldn’t get the DIY done in time for the wedding but just to share a step by step tutorial to how its being done!
Materials required:

Wooden boards (Bought from Artfriend)
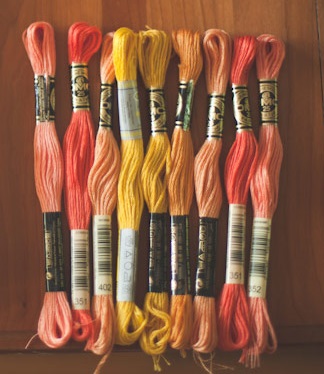
String (I used a thin string in this project, but it might be better to use a thicker string such as those shown below:)
Nails
Scissors
Hammer
“Mr” & “Mrs” Printout
Step-by-Step Tutorial
1. Choose a font of your choice and print out the template for the “Mr” and “Mrs” sign
2. Hammer in the nails along the outline of the words. Do try to maintain equal distance between the nails so its easier to do the stringing afterwards

3. Tear off the paper from the nails.
4. Hammer in the nails till there’s about 0.5 to 1 inch of nail showing above the board.
5. Start stringing! Begin by outlining the letters first. Afterwhich, string across nails and in any pattern you desire. If you use a thin string, make sure to string them more so that the word will look more defined.
Final product!

Somemore examples of words that you can do!

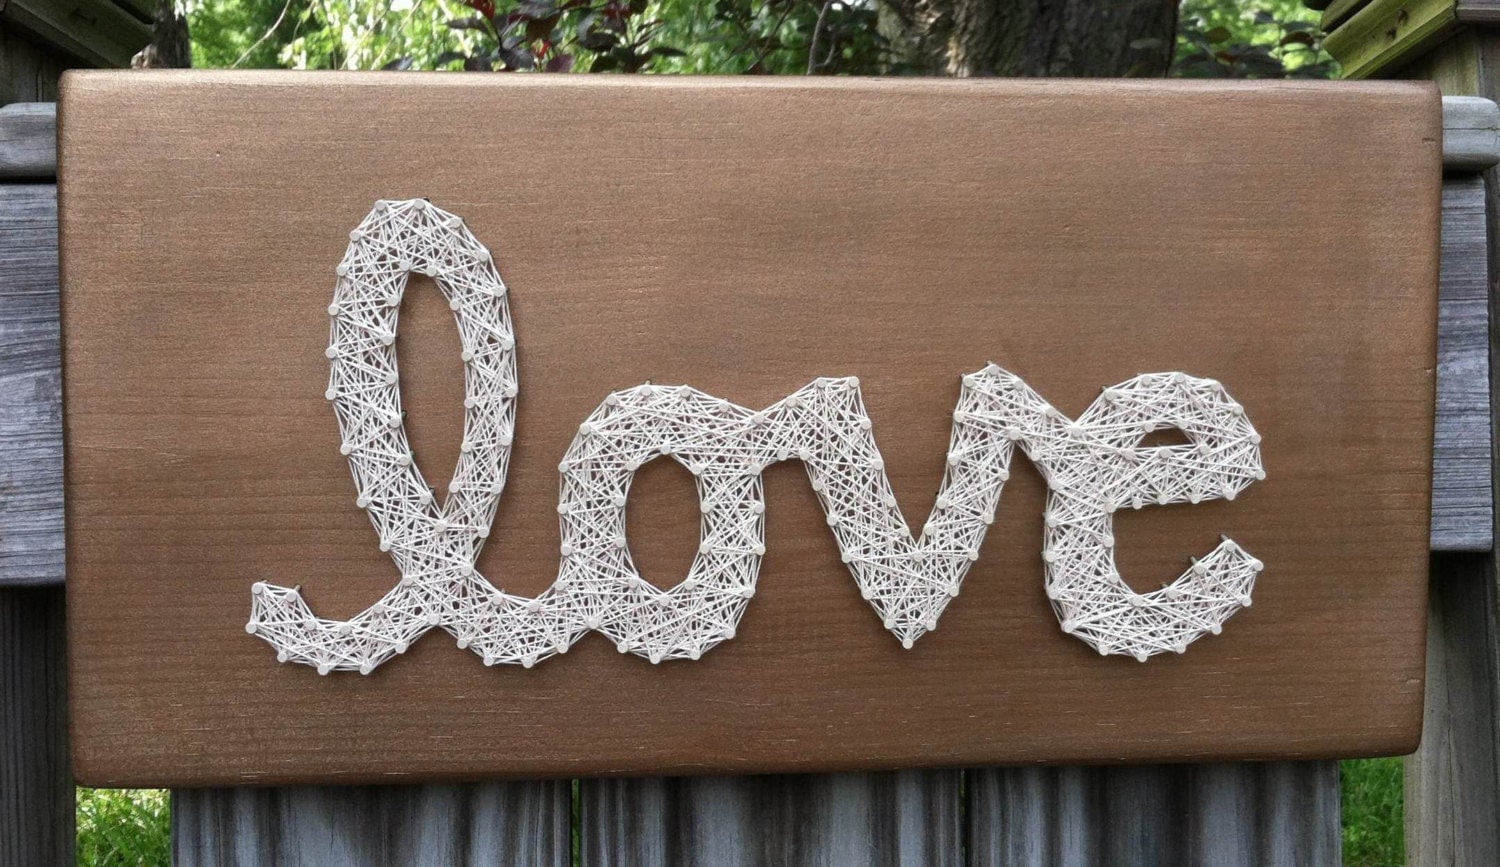
And it doesn’t necessarily have to be for a wedding project, you could simply have it as a decor for the house! Happy stringing!
